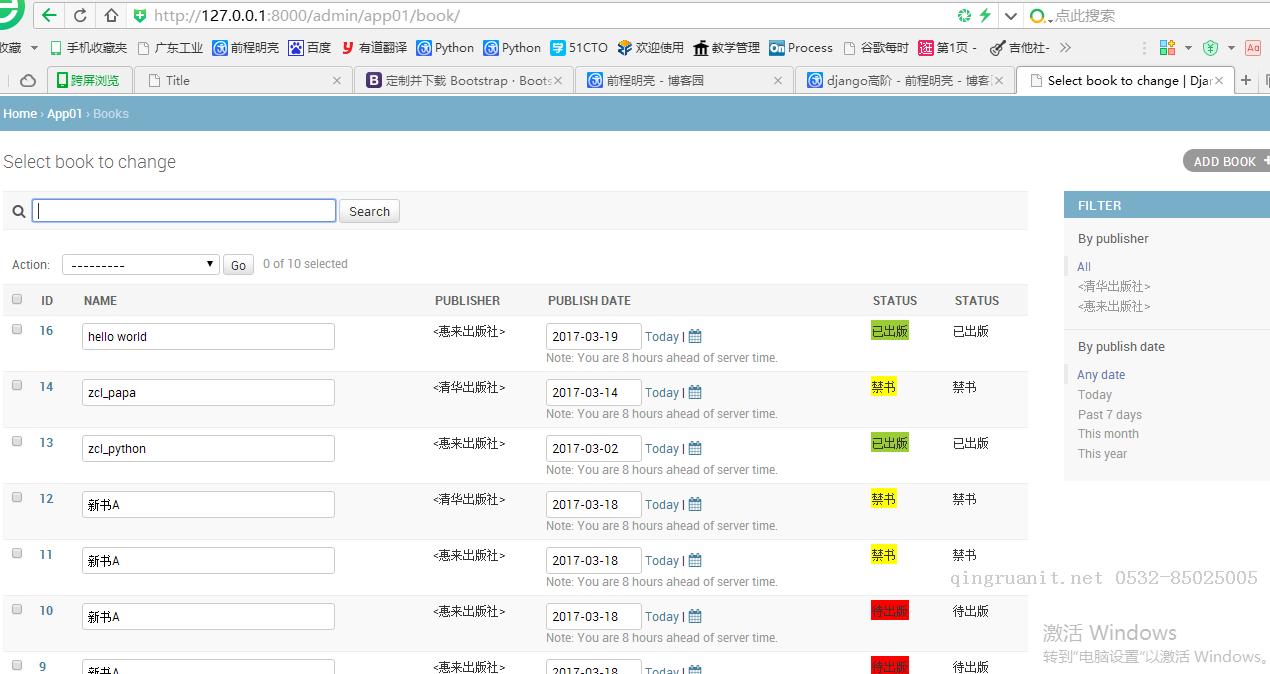
先看效果圖:
登陸admin后的界面:

查看作者:
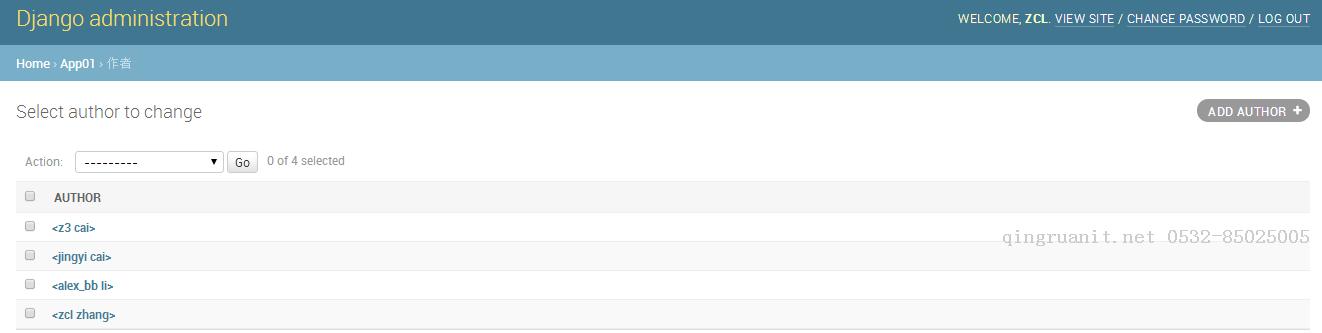
當然你也可以定制admin, 使界面更牛逼
數(shù)據(jù)庫表結(jié)構(gòu): app01/models.py

1 from django.db import models 2 from django.utils.html import format_html #把字符串變成html 3 4 # Create your models here. 5 class Author(models.Model): 6 first_name = models.CharField(max_length=32) 7 last_name = models.CharField(max_length=32) 8 email = models.EmailField() 9 10 def __str__(self):11 return "<%s %s>" % (self.f
延伸閱讀
- ssh框架
2016-09-30
- 阿里移動安全 [無線安全]玩轉(zhuǎn)無線電——不安全的藍牙鎖
2017-07-26
- 消息隊列NetMQ 原理分析4-Socket、Session、Option和Pipe
2024-03-26
- Selective Search for Object Recognition 論文筆記【圖片目標分割】
2017-07-26
- 詞向量-LRWE模型-更好地識別反義詞同義詞
2017-07-26
- 從棧不平衡問題 理解 calling convention
2017-07-26
- php imagemagick 處理 圖片剪切、壓縮、合并、插入文本、背景色透明
2017-07-26
- Swift實現(xiàn)JSON轉(zhuǎn)Model - HandyJSON使用講解
2017-07-26
- 阿里移動安全 Android端惡意鎖屏勒索應(yīng)用分析
2017-07-26
- 集合結(jié)合數(shù)據(jù)結(jié)構(gòu)來看看(二)
2017-07-26
 學習是年輕人改變自己的最好方式